
Welcome to the GE Profile Gas Cooktop Manual, your essential guide to understanding and utilizing your appliance’s features, safety, installation, and maintenance. This manual provides comprehensive information to ensure optimal performance and safety while cooking. Designed to be user-friendly, it covers everything from setup to troubleshooting, helping you make the most of your cooktop experience.
1.1 Overview of the GE Profile Gas Cooktop
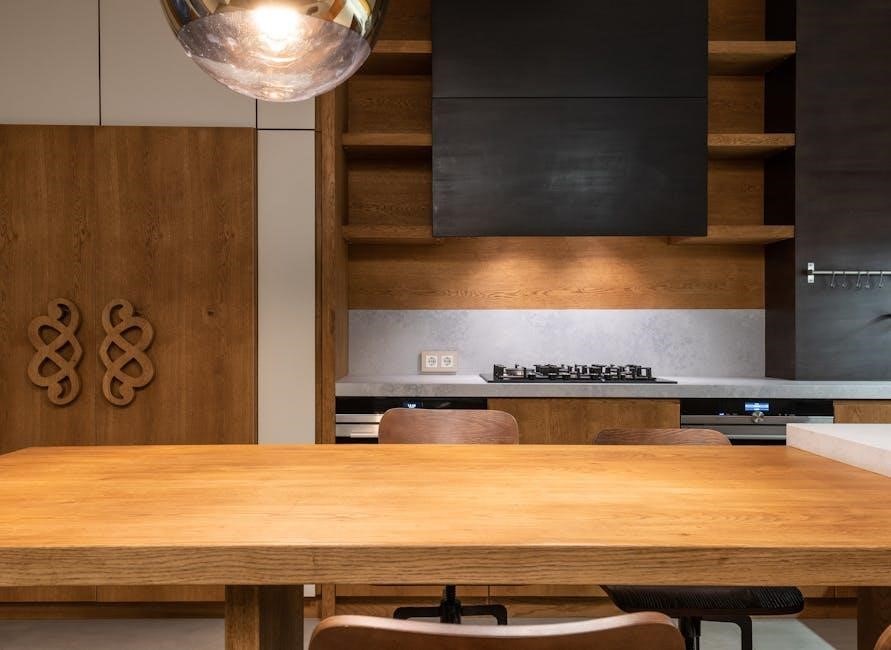
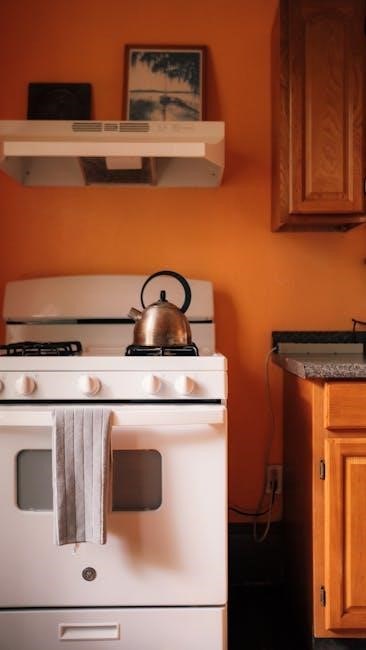
The GE Profile Gas Cooktop is a reliable and functional cooking appliance designed for home use. It features multiple burners, a durable construction, and user-friendly controls. Built-in designs integrate seamlessly with countertops, offering a sleek appearance. The cooktop is known for its high heat output and versatility, making it ideal for various cooking techniques. Models vary in size and burner configuration, catering to different kitchen needs. Accessories like griddles and burner caps enhance its functionality, ensuring a superior cooking experience. This cooktop is a popular choice for its performance and ease of use.
1.2 Key Features and Benefits
The GE Profile Gas Cooktop offers exceptional performance with features like high-BTU burners for intense heat, precision controls for exact flame adjustment, and a built-in griddle for versatile cooking. Its cast-iron grates provide durability and easy maintenance. The cooktop’s design ensures even heat distribution, preventing hotspots. Safety features include automatic ignition and heat indicators, enhancing user safety. Energy efficiency and a sleek, modern appearance make it a desirable addition to any kitchen, combining functionality with style for a seamless cooking experience. These features ensure both convenience and culinary excellence.

Safety Precautions and Guidelines
Always ensure proper ventilation, avoid exposing the cooktop to extreme heat sources, and keep flammable materials away. Regularly inspect gas lines for leaks and damage. Supervise children during operation.
2.1 General Safety Tips
Always ensure proper ventilation when using the cooktop. Keep flammable materials, such as curtains or plastic, away from the appliance. Never allow the gas hose to near hot surfaces or sharp edges. Ensure the cooktop is installed by a certified technician to avoid leaks or hazards. Regularly inspect gas lines for damage or wear. Avoid using abrasive cleaners or harsh chemicals, as they may damage the surface. Keep children and pets away from the cooktop while in use. Always follow the manufacturer’s guidelines to prevent accidents.
2.2 Specific Warnings for Gas Cooktop Usage
Never allow the gas hose to come into contact with hot surfaces or sharp edges, as this can cause damage or leaks. Ensure the cooktop is installed by a certified technician to prevent hazards. Do not use the appliance if you detect a gas leak or if the ignition system is malfunctioning. Avoid using abrasive cleaners or harsh chemicals, as they may damage the surface. Always follow the manufacturer’s guidelines for installation and maintenance to ensure safe operation. Keep the cooktop and surrounding areas clear of clutter to prevent accidents. Repairs should only be performed by authorized personnel.
Installation Requirements and Instructions
Installation requires compliance with specific requirements, including proper clearances and professional assistance. Follow the provided instructions carefully to ensure safety and optimal performance.
3.1 Pre-Installation Checks
Before installation, ensure the area is clear of combustible materials and meets required clearances. Verify the gas line is properly sized and positioned away from heat sources. Check that the cooktop fits the countertop cutout precisely and that all necessary tools and components are available. Ensure the gas supply is turned off and that a qualified technician performs the connection. Review local building codes and manufacturer specifications to ensure compliance. Proper preparation ensures a safe and successful installation process for your GE Profile Gas Cooktop.
3.2 Step-by-Step Installation Guide
Place the cooktop in the prepared countertop cutout, ensuring alignment with mounting brackets. Secure the unit using the provided screws. Connect the gas line to the cooktop, following the manufacturer’s instructions. Tighten all connections firmly to prevent leaks. Install burner caps and grates. Ensure the cooktop is level and stable. Turn on the gas supply and test each burner to confirm proper ignition. Refer to the manual for specific torque specifications and safety guidelines. A qualified technician should perform the gas connection to ensure compliance with safety standards.
Operating the GE Profile Gas Cooktop
Turn the burner knob to select the desired flame level, then press the ignition button to light the burner. Adjust the flame as needed for precise control. Use the griddle for even cooking results. Always refer to the manual for detailed operating instructions and safety guidelines to ensure optimal performance and safety.
4.1 Igniting and Adjusting Burners
To ignite a burner, press the burner knob and turn it to the “Light” position until you hear the ignition click. Once lit, adjust the flame height by turning the knob clockwise for lower heat or counterclockwise for higher heat. Ensure the flame is steady and blue, indicating proper combustion. For precise control, use the markings on the knob to guide your adjustments. Always monitor the flame while cooking and avoid leaving the cooktop unattended; Proper burner adjustment ensures efficient cooking and safety.
4.2 Using the Griddle and Burner Caps
Place the griddle evenly over the burners for balanced heat distribution. Ensure the burner caps are securely positioned to protect the burners and maintain even flame distribution. Always use the griddle with the burner caps in place when cooking. For cleaning, remove the griddle and caps, washing them with mild soap and water. Avoid using abrasive cleaners to prevent damage. Proper use and maintenance of these components ensure optimal performance and longevity of your GE Profile Gas Cooktop.

Maintenance and Cleaning Tips
Regular maintenance ensures optimal performance. Clean the cooktop with mild soap and water, avoiding abrasive cleaners. Remove food residue promptly and polish surfaces regularly to maintain appearance.
5.1 Regular Cleaning Procedures
For daily maintenance, wipe the cooktop with a soft cloth and mild soap solution, then rinse thoroughly. Remove food residue promptly to prevent stubborn stains. Clean burner caps and grates separately with warm soapy water, scrubbing gently with a non-abrasive sponge. Dry all parts thoroughly before reinstalling to avoid water spots. Regular cleaning prevents grease buildup and maintains the cooktop’s appearance and functionality. Always avoid abrasive cleaners or harsh chemicals that could damage the surface. Consistent upkeep ensures your GE Profile Gas Cooktop remains in optimal condition for years.
5.2 Deep Cleaning and Stain Removal
For tougher stains and grime buildup, mix baking soda and water to form a paste. Apply it to the stained area, let it sit for 15-20 minutes, then scrub gently with a soft cloth or sponge. For stubborn marks, soak the burner caps and grates in warm, soapy water before scrubbing. Avoid abrasive cleaners or scouring pads, as they may damage the cooktop surface. Rinse thoroughly and dry with a microfiber cloth to prevent water spots. Regular deep cleaning ensures your GE Profile Gas Cooktop remains pristine and functional. Always test cleaning solutions on a small area first.
Troubleshooting Common Issues
Identify burner problems by checking ignition and gas flow. Clean burner ports and ensure proper connections. Refer to the manual for specific solutions and maintenance tips.
6.1 Diagnosing Burner Problems
Burner issues often stem from ignition or gas flow problems. Check if the burner cap is properly aligned and clean. Ensure the gas ports are free from food debris or spills. If the flame is uneven or weak, inspect for blockages in the burner holes. Use a small brush or toothbrush to clean the ports gently. Verify that the gas supply is turned on and connections are secure. If issues persist, consult the manual for specific troubleshooting steps or contact GE customer support for assistance.
6.2 Resolving Ignition and Gas Flow Issues
If the burner fails to ignite, check for food debris obstructing the igniter. Ensure the burner cap is correctly positioned and clean. Clicking sounds from the igniter may indicate a malfunction; try resetting the cooktop by turning the power off and on. For gas flow issues, verify that the shut-off valve is fully open and that the gas line is properly connected. If problems persist, consult the manual or contact GE customer support for professional assistance to ensure safe and effective resolution.

Warranty and Customer Support Information
GE Profile gas cooktops are backed by a comprehensive warranty. For details, visit the GE Appliances website or contact customer support at 1-800-626-2005 for assistance and repairs.
7.1 Understanding the Warranty Coverage
The GE Profile gas cooktop warranty provides coverage for parts and labor under normal use. It typically lasts for one year from purchase, with extended options available.Registers your product online to activate warranty benefits. Proof of purchase is required for service claims. Coverage excludes damage from misuse or accidents. For full details, refer to the warranty section in this manual or visit GE Appliances’ official website.
7.2 Contacting GE Profile Customer Service
For assistance with your GE Profile gas cooktop, contact customer service via phone, email, or live chat through the official GE Appliances website. Representatives are available Monday-Friday, 8am-8pm EST, to address warranty, repair, or general inquiries. Visit https://www.geappliances.com for support options and to locate authorized service providers. Ensure to have your model number and purchase details ready for efficient assistance.